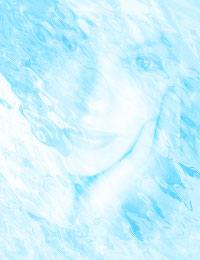
Hello, in this tutorial,
you will learn how to change any image into a reflection in water as
seen below. You can do it with the photo I provided below or your own.
Here is the photo I used:
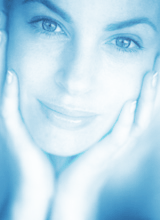
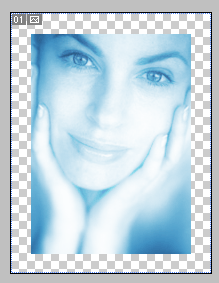
First open up your image and increase the canvas size. If you are using the image
I provided Increase it to about 200 pixels wide and 260 pixels high. You can
edit your canvas size by going Image>Canvas Size.
Your image should have a transparent area like shown below.
Now, create a new layer and set it underneath your woman layer. Set your color
palette with a light blue color (I used 6699cc) and white. Go Filter>Render>Clouds.
You should now have two layers, your woman and a blue/white clouds layer.(make
sure clouds layer is on bottom)
On your clouds layer you just created go Filter>Distort>Ripple and use
these settings:
Amount : 768
Size: Large
Press Ctrl+F. This will redo what you have just done. My image looks like this.
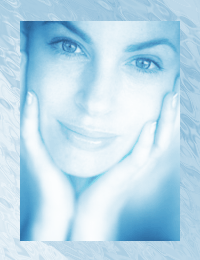
Now, for the moment, turn off your woman layer. Select your brush tool and use
the default brushes. If you scroll down in the list you will see some star brushes.
On a new layer above your water layer, just spread some stars across your image.
Duplicate your star layer, set the mode to soft light, and merge down. You now
have 3 layers. Your woman (which is turned off) , your stars, and your water.
(this is in the order from top to bottom). My image looks like this:
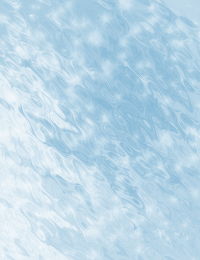
Now, you have completed the difficult part. In your layers pallete, turn your
woman layer back to visible. In the bottom of the layers pallette you will see
the "add layer mask" button. Click this button when you are on the
woman layer. I provided an image below.

Press D on your keyboard for default colors. Next, Select your gradient tool
and set it to these settings:
![]()
Now, from the center of your woman (or your image) drag to the outside. Do
this for all sides. My image now looks like a woman is being reflected by water.
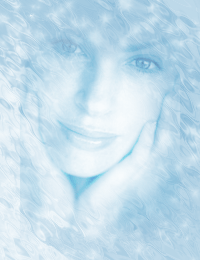
You
can consider the above image done. However if you want
to duplicate your water layer, put it as your top layer,
and set the blending mode to overlay (blending mode
box is in layers pallete with a down arrow right by
opacity) it will look like below. It kind of looks
more like its reflecting off water so I would suggest
doing this step.
