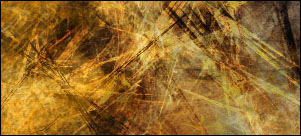
In this tutorial you will learn how to blend an image into a background like the one below.

1. Ok, first off
find the background you will want to incorporate your image into, I
used this one.

For this tutorial
I will be using this image to blend in. (feel free to use this image.)

2. Open up your image
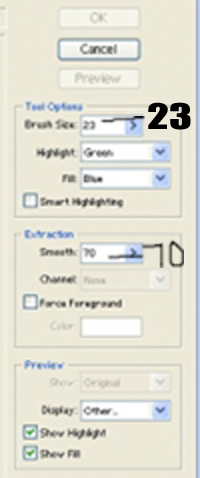
and go to filter-extract and a separate window will show up. What I
usually do is set my brush size on 23 and set the smoothness to 70
and check the box labeled smart highlighting this helps you a lot.
(Example below)

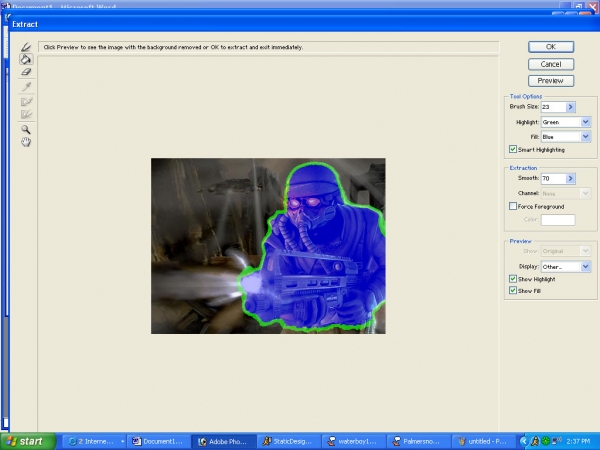
3. Next, outline
the image and then take your paint bucket and fill it in, your image
should look something like this.

4. After your done click ok and you should have your image fully cut out, but to make it even better, take your eraser tool set the mode on brush, the opacity at 90%, and the flow at 50% and touch up the sides a little bit. (Zooming in also helps on those really hard edges.)
5. Now we have to put the image on the background. To do this select your image (ctrl a) and take your move tool and click on your image and drag it to the left a little bit, this will select only your image and not your whole background. Copy your image (ctrl c) and paste it on your background (ctrl v)
SECTION 2
· If you have made it here, then you are doing everything right. In this section I will show you how to blend it into your background properly. Good luck!
So far we have taken the image, extracted it and then paisted it onto your background.
1. Once that you
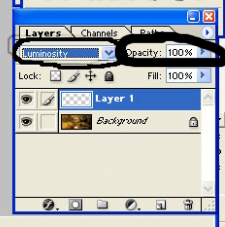
have done all that go to your blending options and play around with
the settings. The image below shows two areas you can mess with. Opacity
will make your image more and less transparent. The box with down arrow
sets different blending modes. When you choose different ones, it will
be self explanatory.
